How-to
Garage golf simulator: a step-by-step build guide
How to build a golf simulator in a garage, step by step: measuring, floor, power, enclosure and screen, projector placement, mat, launch monitor and comfort.
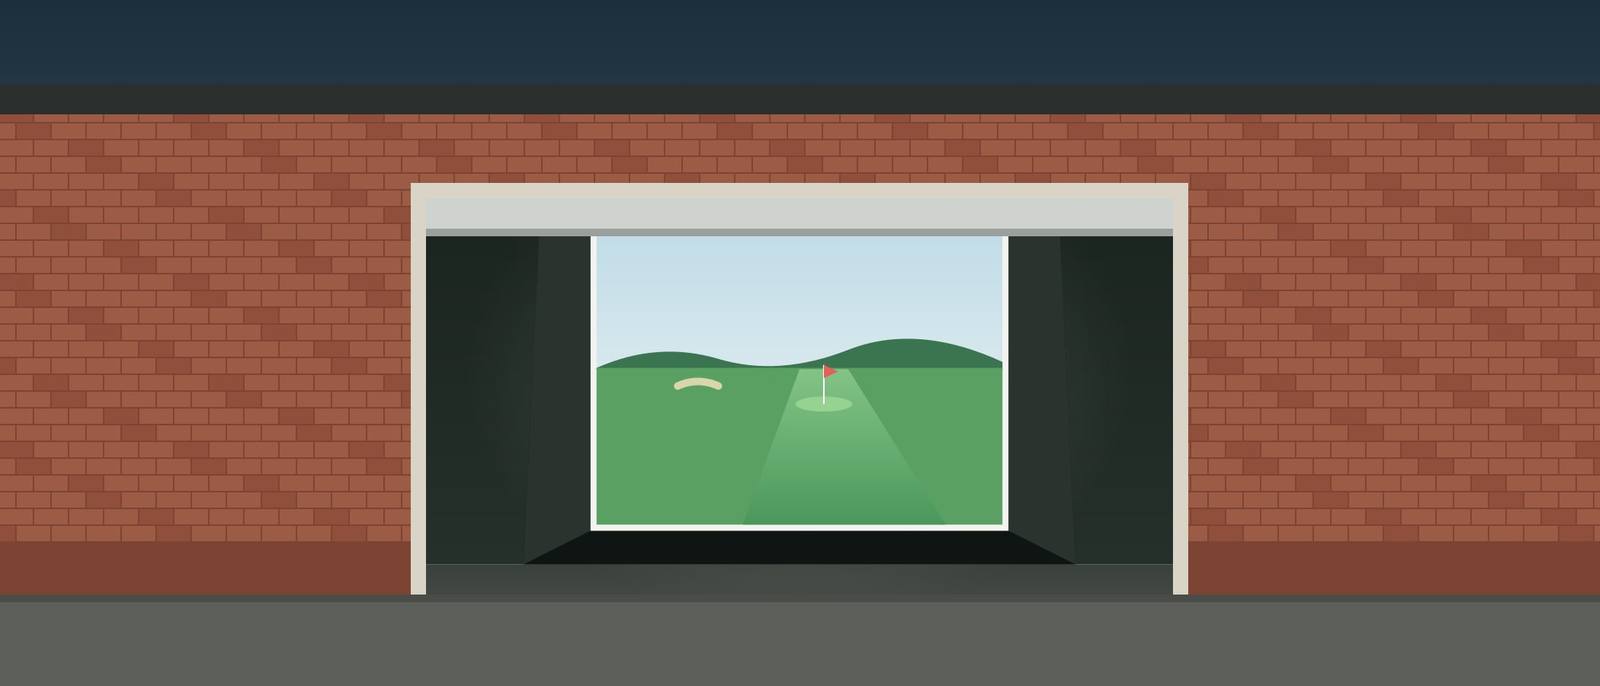
The garage is the most common home for a golf simulator in the UK. It is usually the only room with enough space, a hard floor and no furniture to move. It also comes with its own problems: low ceilings and door mechanisms, cold and damp, and not enough sockets in the right places.
This guide walks through a garage build in the order you would actually do it, from the first measurement to the first shot. You can build it in stages: a net or enclosure and a mat first, then the launch monitor, then the projector.
Step 1: measure the garage, including the door
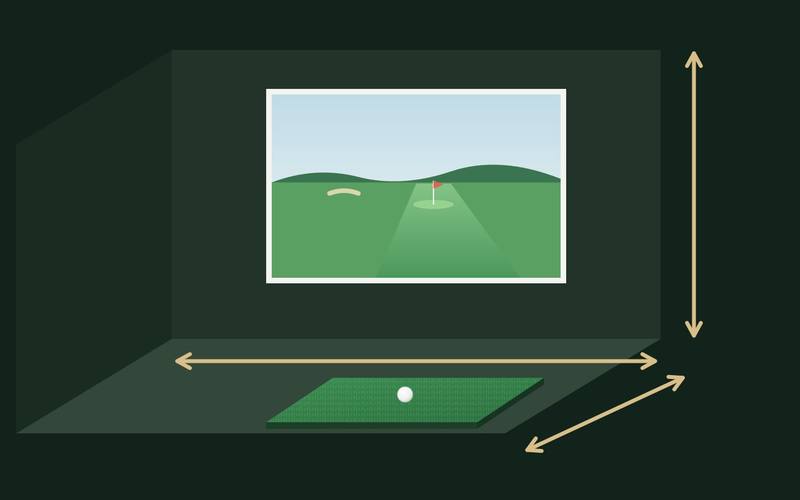
Start with the measurements in our guide to home golf simulator space: ceiling height, width and depth. In a garage, pay attention to:
- The door. An up-and-over door swings into the garage and its rails and springs often hang lower than the ceiling. A roller door has a drum box above the opening. Measure the height under these, not just to the ceiling.
- Joists, beams and lights. The lowest point above the swing area is the one that counts.
- Width at the hitting spot. Many single garages are well under 3 m wide inside. Measure where you will stand, not at the door.
- Things on the walls. Consumer units, meters, pipes, shelves and windows all need protecting or moving if they are near the bay.
Then do the swing test: stand where the mat will go, make slow swings with a driver, and check the highest and widest points the club reaches.
Step 2: decide the layout
Most garage simulators face the back wall, with the screen at the far end and the hitter nearer the door. That keeps the door free for access and puts the projector over the hitting area. In a long garage you may be able to put the screen near the door instead, if that gives a better ceiling height over the swing.
Sketch the layout to scale with these pieces: the gap behind the screen, the enclosure, the ball position, the mat, the launch monitor (behind the ball for radar, beside it for a camera unit), where you stand and where the projector will hang. If both left and right-handed golfers will play, centre the ball and allow room on both sides.
Step 3: sort out the floor and the damp
Garage floors are usually bare concrete. That is fine as a base, but it is cold, dusty and unforgiving.
- Level. Check the floor with a long level. A slope towards the door is common. Mats and launch monitors need a level surface, so pack under the mat area if needed.
- Dust. Sweep and seal or paint the concrete, or cover it with rubber gym flooring. Dust gets into projectors and onto the screen.
- Damp. If the floor or walls are damp, fix the cause before you put electronics and fabric into the space. A dehumidifier helps keep the air dry once the source is dealt with.
- Comfort. Rubber flooring around the mat takes some of the chill out of standing on concrete for an hour.
Step 4: power and lighting
A full simulator needs power for the projector, a computer or tablet, the launch monitor charger and maybe a heater. Plan the sockets so that no cable crosses the hitting area or the floor where people walk.
Adding a socket to an existing circuit is usually simple work for an electrician. A new circuit, for example to a garage that has only a light, is notifiable work under Part P of the Building Regulations in England and Wales. That means using an electrician registered with a competent person scheme, who certifies the work, or notifying building control before you start. Use a qualified electrician for anything beyond plugging in.
For lighting, you want two modes: bright light for setting up and practising without the projector, and low light for playing on the screen. Place light fittings out of the swing area, and avoid lights that shine onto the screen.
Step 5: build the enclosure and hang the screen
Assemble the frame where it will stand, with the gap behind the screen that the instructions recommend. Common advice is around 30 cm between a framed screen and the wall, and more if the screen hangs freely. The gap lets the screen give when the ball hits it, so the ball drops instead of shooting back, and it protects the wall.
- Tension. Mount the screen with the bungee cords supplied, with even, slight tension. A screen stretched as tight as a drum sends the ball back harder.
- Side and top panels. These catch shots that miss the screen. Do not leave gaps where a ball could reach a window, the car or the door.
- Protection. Hang a spare net or padding over anything breakable within reach of a mishit, such as a consumer unit or the garage door panel.
A simulator enclosure kit gives you the frame, screen and panels together. If you prefer to build a frame to fit the garage exactly, a separate impact screen is the core part.
Step 6: place the mat and the launch monitor
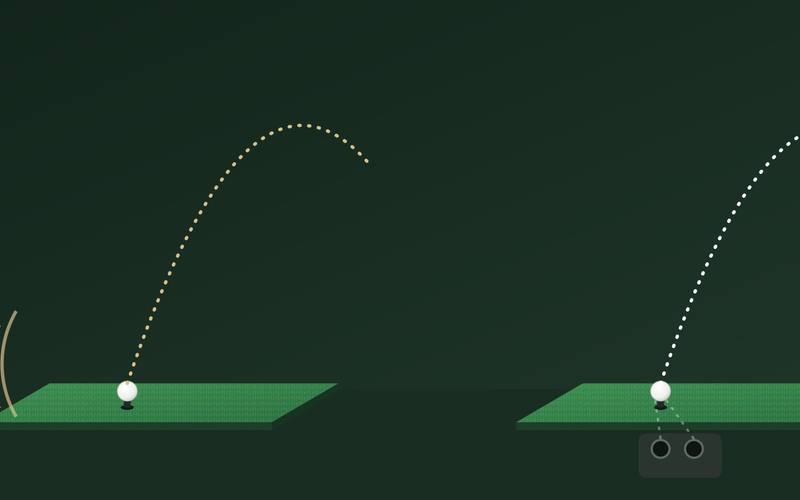
Put the mat where the ball position gives the distance to the screen your launch monitor needs. For a radar unit, that also fixes where the unit goes behind the ball, so check that there is enough room behind the hitter for it. For a camera unit, the unit sits beside the ball at the distance the manual gives.
Mark the ball position and the launch monitor position on the floor with tape, so you can set up the same way every time. Then hit some gentle shots and compare the numbers with what you know from the range.
Step 7: mount the projector
The projector is the part people most often get wrong. Three ideas help:
Throw ratio. A projector's throw ratio is the distance from the projector to the screen divided by the width of the picture. A projector with a throw ratio of 0.5 needs to be 1.4 m from the screen to make a picture 2.8 m wide (0.5 × 2.8 m). A throw ratio of 1.5 would need 4.2 m for the same picture. Short-throw projectors, with low throw ratios, can hang closer to the screen, which in a garage usually means above or in front of the hitting area, out of the swing.
Shadows and safety. If the projector is behind the hitter, the hitter's shadow can fall on the picture. Mount it where the club can never reach it, and where a ball bouncing back off the screen is unlikely to hit it. A projector mounted above the hitting area and angled down to the screen avoids both problems in many garages.
Picture shape and brightness. Match the picture shape (4:3 or 16:9) to your screen and software, and choose a projector bright enough for the amount of light you cannot keep out of the garage.
Step 8: software, computer and comfort
Many launch monitors work with their own phone or tablet app, and some connect to simulator software on a PC. Check compatibility before you buy, and what any software or course subscription costs.
Garages are cold in winter. A heater makes the bay usable on January evenings, but keep it well away from nets, screens and fabric panels, and never leave it running unattended. Warm up before you start swinging hard in a cold room. Ventilation or a dehumidifier helps protect electronics from condensation.
Building in stages
You do not need to buy everything at once. A sensible order is:
- Enclosure or net, and a good mat. You can start hitting straight away.
- Launch monitor. Numbers for every shot, used with a phone or tablet.
- Projector and software. The full simulator experience.
Plan the final layout before you buy the first part, so that the enclosure and mat are in the right place for the launch monitor and projector that come later. For more on the launch monitor choice, read golf launch monitors explained.
Frequently asked questions
Can I build a golf simulator in a single garage?
Sometimes. Width is usually the problem: many single garages are well under 3 m wide inside. Measure the width where you would stand and the height under the door rails. If you can make a full driver swing without hitting anything, a simulator may fit; if not, a net and mat for irons and wedges is still worth having.
Where should the projector go in a garage simulator?
Usually on the ceiling, somewhere the club can never reach, and far enough from the screen to fill it at the projector's throw ratio. A short-throw projector can sit closer to the screen, which keeps it out of the swing area and reduces the chance of your shadow falling on the picture.
Do I need planning permission for a garage golf simulator?
Putting a removable enclosure into an existing garage does not change the building. Structural work, new windows, insulation or turning the garage into a habitable room can need building regulations approval, and some homes have conditions that limit changes to the garage, so check with your council before that kind of work.
Will a cold garage damage a launch monitor or projector?
Check the operating and storage temperatures in each manual. Cold and damp are the main risks: condensation on electronics, and batteries that lose capacity. Many owners bring battery-powered units indoors between sessions and keep the garage dry with ventilation or a dehumidifier.